
Collect objections fast and keep them tied to real deals
You don’t need a quarter-long “sales enablement project” to improve objection handling. In 40 minutes, you can turn the objections your team already hears into an objection-handling decision tree and a talk-track map that reps can actually use live on calls.
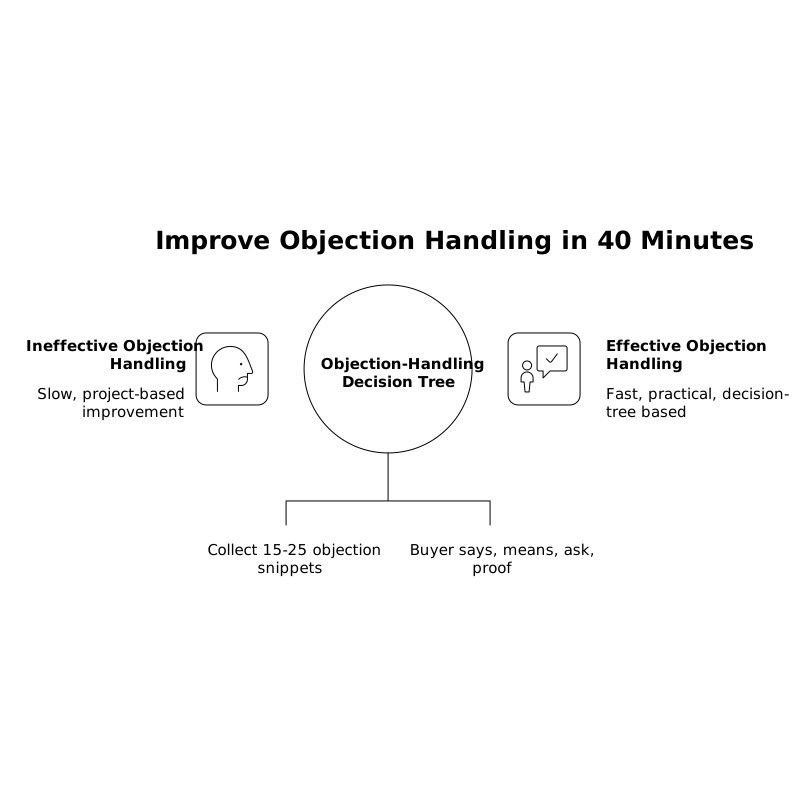
The key is to work from real language (calls, emails, chat) and structure it into a branching path: what the buyer says, what it usually means, what to ask next, and which proof points to use.
Minutes 0–5: Pull a small, high-signal objection set
Start with volume you can finish. Aim for 15–25 objection snippets across the last 2–4 weeks, pulled from:
- Closed-lost notes in your CRM
- Call transcripts (1–2 top reps plus 1–2 mid-performers)
- Sales inbox threads where pricing, security, or “not now” shows up
Keep the raw text intact. Avoid paraphrasing at this stage—your talk track will be better if it mirrors the buyer’s words.
Minutes 5–12: Normalize objections into “families” with clear labels
Group the snippets into 5–7 objection families. Most teams land on a familiar set:
- Price / budget
- Timing / not a priority
- Need / “we already have something”
- Trust / security / compliance
- Authority / “I’m not the decision maker”
- Risk / switching costs / implementation
Give each family a label that reads like the buyer. “Too expensive” beats “Pricing objection.” If you sell to technical teams, keep separate buckets for “security review,” “data residency,” and “vendor risk” instead of lumping them together.
Turn each objection family into a decision tree reps can follow
Minutes 12–20: Write the branching logic: what it means and what to ask next
A usable decision tree answers one question: “What should I do next?” For each objection family, create 3 parts:
- Interpretations: 2–4 common reasons this objection shows up
- Diagnosis questions: 2–3 short questions to identify which reason is true
- Next step paths: what to say, what to show, what to propose
Example for “It’s too expensive”:
- Interpretations: budget is real; ROI isn’t clear; wrong plan; comparison to a cheaper alternative
- Diagnosis questions: “What did you budget for this problem?” “If you solved it, where would you expect to see impact first?”
- Paths: shift to cost of inaction, change scope, attach pricing to outcomes, align to procurement timeline
This branching structure is the difference between a static battlecard and a tool that adapts to what the buyer actually means.
Minutes 20–28: Build the talk-track map for each branch
Now write the “say it out loud” lines. For each branch, include:
- Acknowledge: one sentence that validates the concern
- Clarify: one diagnosis question
- Reframe: one sentence that shifts the lens (risk, outcomes, timeline, proof)
- Proof: the best asset to deploy (case study, security doc, ROI model, integration list)
- Close step: a specific next action (pilot, technical review, stakeholder intro)
Keep it short enough to use live. Reps don’t read paragraphs in the moment—they scan for the next line and the next question.
Make it visual so it’s memorable and shareable
Minutes 28–35: Convert your tree and talk track into a visual map
A decision tree is easier to learn when it’s visual: one node per objection, branches for interpretations, then actions and proof points. This is where a “text-to-visual” step removes friction. If you already have the structure in text, you can paste it into napkin.ai to generate a clean diagram your team can edit and export. The goal isn’t design polish—it’s a shared picture that sales, marketing, and CS can all point to.
As you create the visual, use consistent patterns:
- Buyer statement as the header of a node
- Diagnosis questions on the branch line
- Proof points as icons or short tags (e.g., “SOC 2,” “case study,” “ROI calc”)
- Next steps as the final leaf nodes
If your trees start getting messy, apply simple branching logic conventions (like limiting each node to three branches and using “else” fallbacks). If you want a deeper set of patterns for keeping branching workflows readable, see Branching Logic Patterns to Keep No-Code Workflows Maintainable.
Minutes 35–40: Add two usage rules so the asset actually gets used
Most enablement assets fail because nobody knows when to use them. Add two rules at the top of your document or diagram:
- When to use it: “Use this live on discovery and pricing calls; review before first demo; reference in follow-up emails.”
- What not to do: “Don’t jump to proof before diagnosis; don’t argue price—anchor on outcomes; don’t skip the close step.”
Finally, pick one place it lives (CRM, Notion, enablement hub) and link to the visual map plus a text version for searchability.
Common objection families and the branches that matter most
Pricing objections
Pricing is rarely just pricing. Your tree should quickly distinguish “no budget” from “unclear value” from “wrong package.” A good talk-track map includes a path for resizing scope and a path for proving ROI with a specific metric the buyer cares about.
Timing and prioritization
“Not now” can mean “no internal owner,” “blocked by another initiative,” or “can’t justify the change cost.” Your diagnosis questions should surface the triggering event that would make it urgent, and your close step should offer a low-lift next action (like a technical review or a short pilot plan) rather than pushing for a full commit.
Security and trust
Security objections need a branch for process (“What’s your review workflow?”) and a branch for substance (“What specific control or requirement is at issue?”). The proof point leaf nodes should include the exact artifacts your team shares repeatedly (security overview, compliance reports, data handling FAQ).
“We already use X”
Handle this with a branch that determines whether X is a real incumbent, a partial workaround, or a placeholder. Your talk track should avoid dismissing the existing tool and instead map where you fit: replace, augment, or consolidate.
How to keep the tree current without turning it into busywork
After you ship the first version, maintain it with a lightweight cadence: every two weeks, add 3–5 new objection snippets and update only the branches that changed. If you already run structured intake on customer feedback, you can mirror the approach used for support root-cause mapping and keep your sales tree tied to real evidence over time. The workflow described in A 25-Minute Workflow to Turn Support Tickets Into a Root-Cause Tree and Fix-Priority Heatmap is a useful model for keeping trees grounded in incoming data rather than opinion.